
While much of posting a new real estate property listing is fairly straight forward, there are some curves to be reckoned with. Lets start from the top and cover the ins and outs.
First, log into your WordPress dashboard.
To start, on left side menu, go to “Property Listings” and select “Add New”.
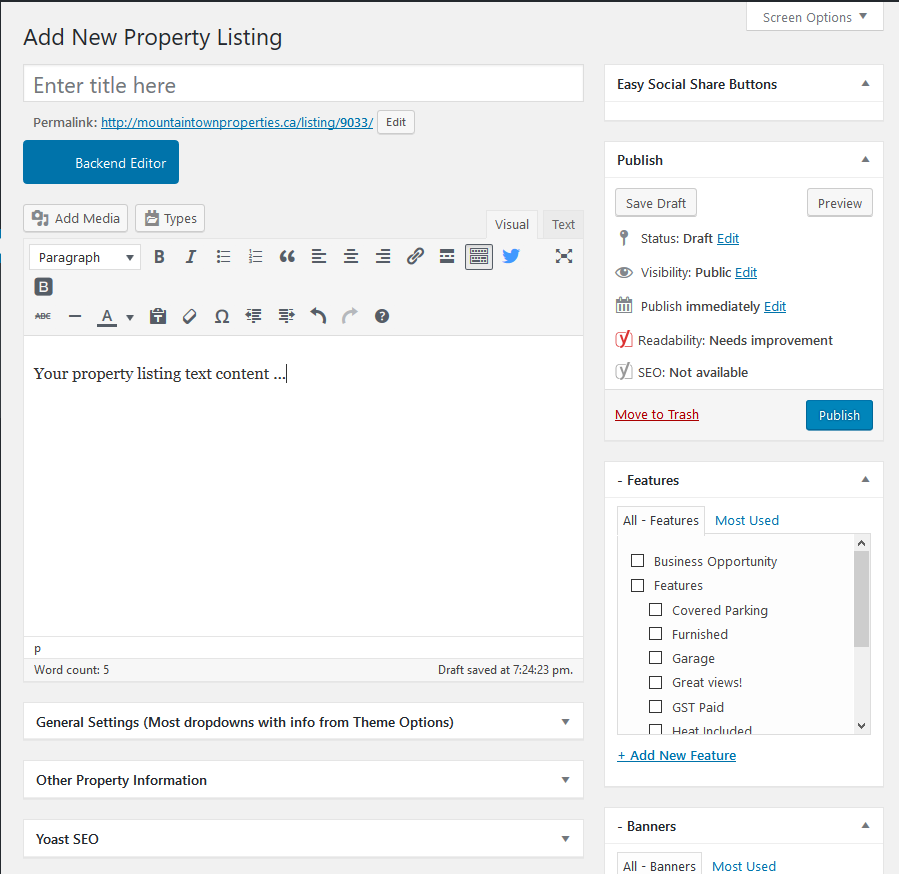
Property Title
Please always use the property street address as the Property Title.
Text Editor
The next section is the text editor window. The hardest part of this section is to come up with the right words to create an attractive text description for the property. Best method would be to just quickly write your words into the editor window and then review and edit until you are happy with the final draft. While it’s possible to add images to the body of the text, the images are usually added in a separate section later. Remember to keeping saving your work by clicking on the “Save Draft” button!
General Settings
Now it’s fill in the blanks with the requested information. If, for some reason, the shown Google map property location is not correct, you can enter the exact longitude/latitude co-ordinates for the property in the “Google Map Override” field. Save your work!
Other Property Information
For your “Listing Images”, you should have a folder on your computer (your Working Directory) with your renamed and resized photos for this property.
Need help with organizing, renaming and resizing your property photos? See the Photo and File Management tutorial.
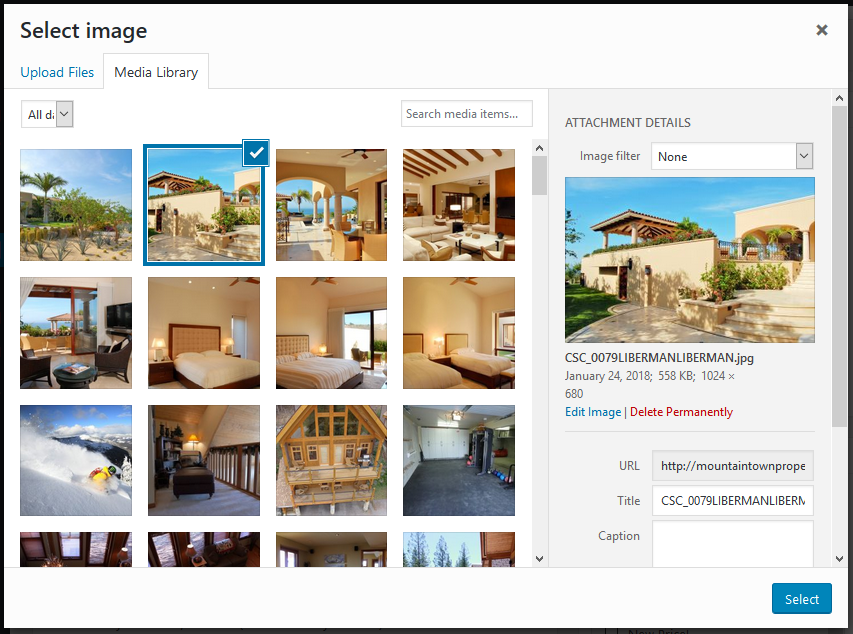
To begin, click on the “Select Image” button, then select “Upload Files”
Option One – you can drag and drop all of your property photos from your Working Directory folder to the upload window.
Option Two – click on “Select Files” and navigate to your Working Directory and select (highlight) your property listing photos. Once your photos are selected then you can click on “Open”. The upload utility then automatically uploads your new property photos, one by one, into the Media Library.
As with either option above, once all the photos are uploaded, select the photo that you want to be your main property image and click on “Select”
Now, you should see something like this:
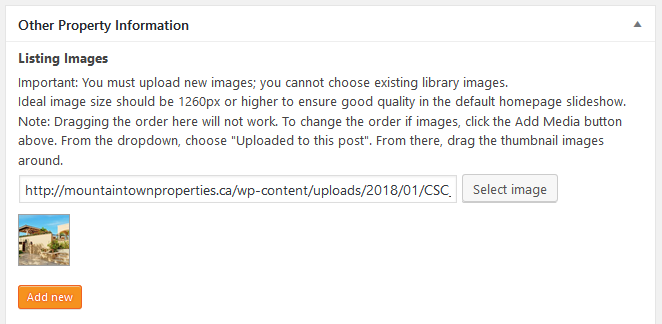
Now, click on the “Add New” button and you’ll see something like this:

Click on the corresponding new “Select Image” button and select your next photo from the Media Library. Repeat this for all of the photos that you uploaded.
When you have selected all of your property’s photos, always remember to save your work by clicking “Save Draft”
Later, you may not like the order in which your photos appear in your property listing. You can change the order by going to the edit mode for your property listing, clicking on “Add Media” and then selecting from the drop down “Uploaded to This Post”
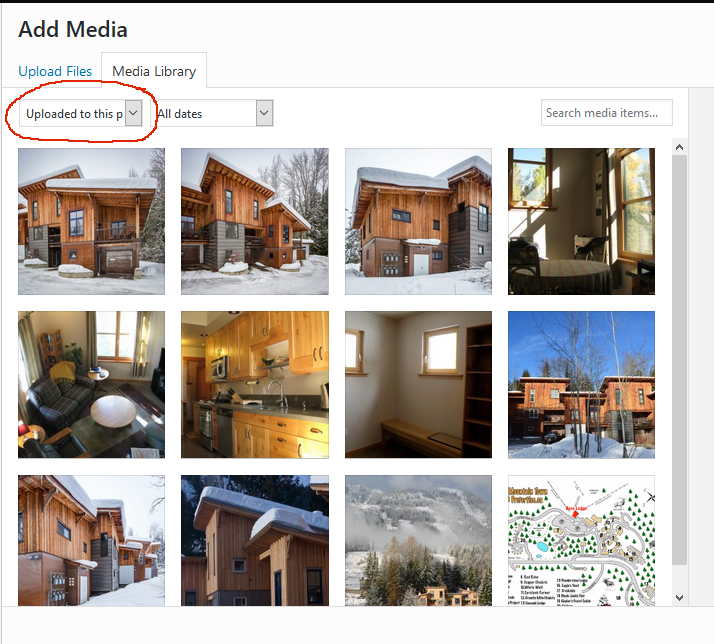
You can drag your images to suit the order of appearance that you want. The first image is always the main photo for the property listing.
Continue down the “Other Property Information” fields and insert the data requested into the corresponding field. If there is no information or the field does not apply to the property, leave the field blank.
Remember to periodically save your property listing by clicking the “Save Draft” button in the top right hand corner of the edit window.
You can preview your new listing by clicking on “View Property Listing” in the top menu. You can return to the property listing editor by clicking on “Edit Property Listing”
All done? Looking good? Make your new property listing visible to the public by clicking on the “blue “Publish” button!
Congratulations! You’ve created your property listing!